

Whoops, I missed yesterday. It's the end of the semester, so you know how it goes. But, I have a great DIY ready for your today! Making your own hotpads is a pretty simple sewing project and a great way to personalize an object that you use all the time. It also makes for a really unique and personal gift if you make a nice set of them -- and Mother's day is approaching. So grab some fun fabric (I'm obsessed with this chevron) and try your hand at DIY hotpads.

To get started, all you need is some piping (DIY or storebought), fun fabric, insulbright (or other heat-safe insulating fabric), a sewing machine, needle, and complementary colored thread. First, cut your fabric and your insulbright. You'll need two pieces of fabric and one piece of insulbright. Remember that your final product will be about 1/2" smaller on every edge. I used a book as a template for sizing. Your piping needs to be able to wrap all the way around your hotpad and overlap some. I add up the length of each side, then add about an inch and a half for the overlap.
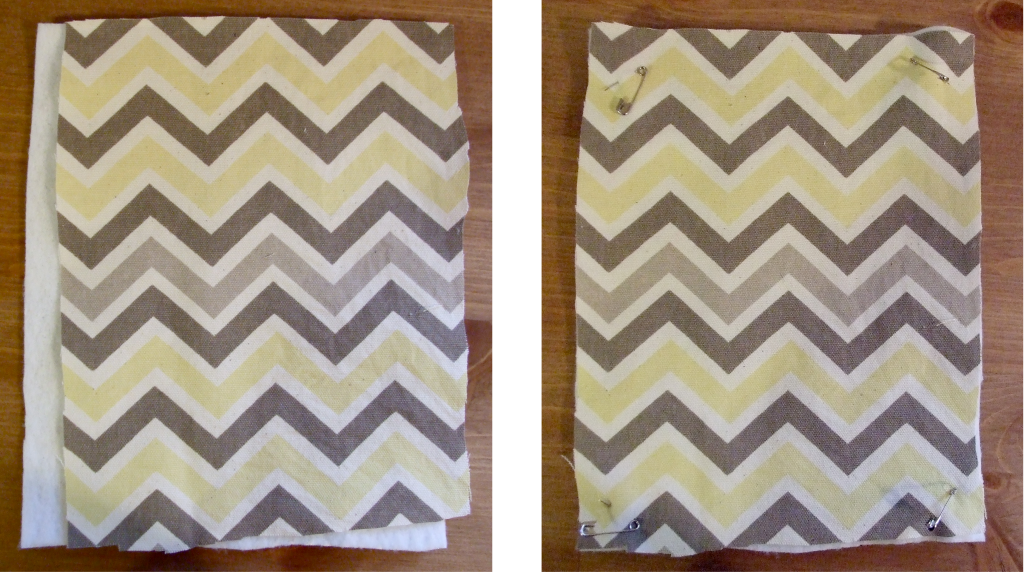
Start by laying down your insulbright. Then, lie one piece of fabric right-side up on top of the insulbright. When the layers are flush, pin into place. I ended up using more pins than I have photographed here. Then, pin your piping into place. You want the pipe edge to be closest to the center, while the flat edge lines up with the borders of your hotpad (check a few pictures down, there's a good picture of the piping once it's sewn into place!) Then, using your zipper foot, sew around the border using your piping as a guide.

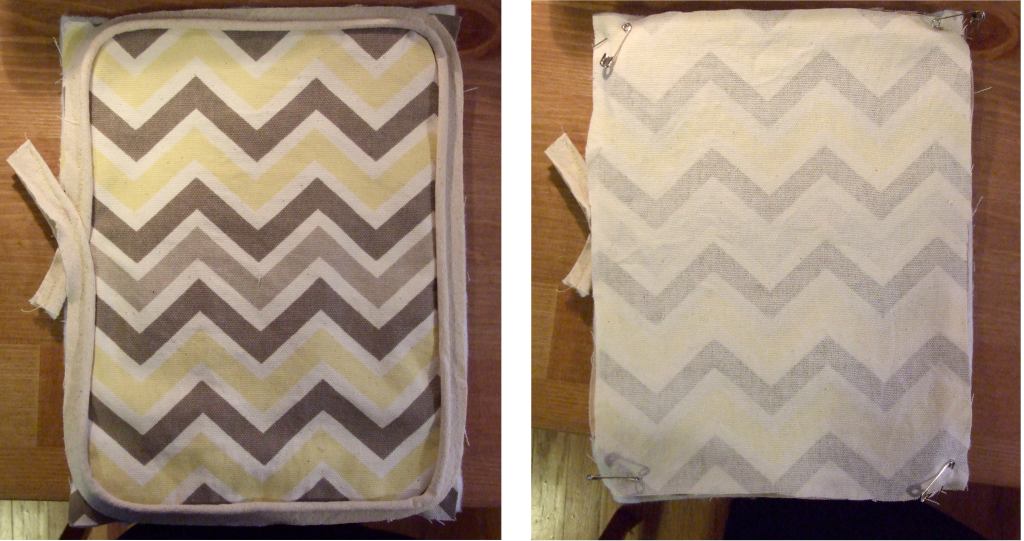
After you've sewn your piping into place, take your second piece of fabric and place it right-side DOWN over the hot pad. When the edges are lined up, pin into place. Again, I actually used more pins than what is shown here. Using the piping as a guide, sew around the hotpad while leaving a gap in one side. I usually leave the gap over the piping overlap because I have trouble sewing over that with a machine and keeping the edges straight. You want the gap to be large enough to comfortably flip the hotpad inside out, but not too large as it will be hand sewn shut.

 After you've sewn around the border and left a gap, make sure to trim the edges before turning the hotpad inside out. I usually cut down the corners and trim any edges that are longer than 1/2". After that, reach a few fingers inside the hole, pinch onto one piece of fabric, and pull. It takes a bit of muscling, but eventually you'll get it. Keep pulling and pushing until all the edges and corners are able to lie flat.
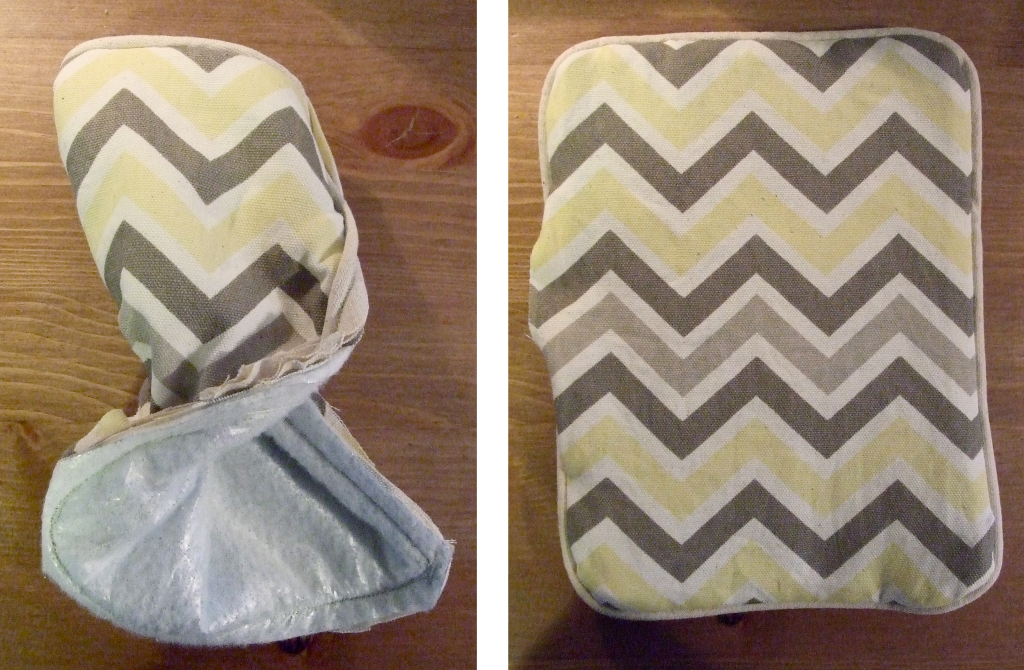
Then, grab your needle and do a bit of hand-sewing. Using an invisible stitch, sew the hole shut in the side. The last thing that you need to do is sew something in the center to keep the layers of fabric together. I'm partial to X's, but have also seen squares or diagonal stripes across the entire hotpad. It's really up to you! I have trouble getting it centered, so I often lightly draw in pen where I'm planning to sew, then sew over it with the machine. Then, you're done! It's a little tricky at first, but with practice you'll be able to do it in your sleep.

What have you been DIYing lately? Any useful sewing projects?
No comments:
Post a Comment
I love to read your comments and thoughts, but please keep it respectful. Spam will be removed. -Kara